
Composting at Home Without the Smell or the Mess

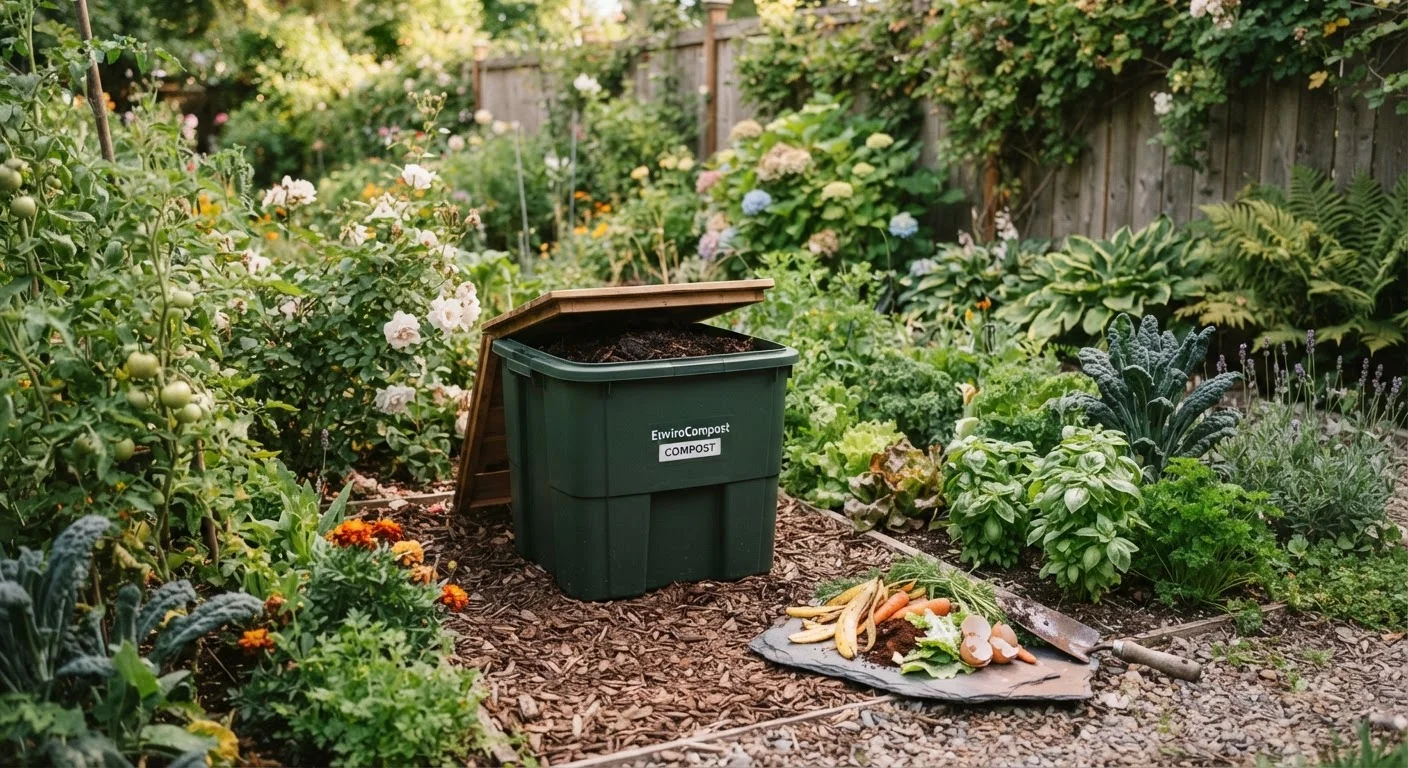
Photo: ResultsExplorer.com | Top Blogs For Everyone editorial
Key Takeaways
- Balancing 'green' nitrogen-rich and 'brown' carbon-rich materials is the single most important step to odour-free composting.
- Excess moisture and incorrect food scraps are the most common causes of smelly or pest-attracting compost.
- Turning the pile regularly accelerates decomposition and keeps anaerobic (smell-producing) conditions from developing.
- Finished compost improves soil structure, feeds beneficial microbes, and reduces the need for synthetic fertilisers.
- Small-space composters, including countertop bins and worm systems, make this achievable for apartment dwellers too.
Why Composting Goes Wrong - and How to Prevent It
Most people who abandon composting do so because their pile starts to smell or attracts animals. Both problems share the same root cause: an imbalance between materials or poor management. Understanding why things go wrong makes it easy to prevent them from the start.
Compost odours are almost always caused by anaerobic decomposition - a process that occurs when the pile lacks oxygen, becomes waterlogged, or contains too many nitrogen-rich ("green") materials. Meat, dairy, cooked foods, and oily scraps decompose differently from raw plant matter and release foul gases in the process. Keeping these out of a standard backyard bin is the simplest preventive measure.
Pests - rats, raccoons, and flies - are typically drawn to exposed food scraps, especially cooked waste. A well-constructed bin with a secure lid and a solid or mesh base addresses most pest concerns without requiring complicated deterrents.
Small Space? Consider a Worm Bin
If you're also building raised beds or improving your garden soil, finished compost pairs perfectly with the soil-preparation steps outlined in our guide to starting a vegetable garden from nothing.
What You'll Need Before You Start
You don't need expensive equipment. A basic setup requires a container (purchased or DIY), a spot with partial shade and some drainage, and a small supply of starter materials. Here's what to gather before following the steps below.
What you will need
Compost bin with lid
Contains the pile, retains heat to speed decomposition, and keeps pests out.
Garden fork or aerator
Used to turn and aerate the pile, which accelerates breakdown and prevents odours.
Small countertop collection caddy
Holds kitchen scraps between trips to the outdoor bin, reducing mess indoors.
Compost thermometer
Measures internal pile temperature to confirm active decomposition is occurring.
Step-by-Step: Setting Up and Running Your Compost System
Follow these steps to establish a compost system that stays clean and odour-free from the first day. The process is forgiving - consistent habits matter more than precision.
Choose and Position Your Bin
Place your bin on bare soil or grass rather than concrete - this allows excess moisture to drain and lets beneficial worms and microbes enter from below. Choose a spot with partial shade; full sun dries the pile out too quickly in summer, while deep shade slows decomposition.
If you're using a purchased plastic bin, ensure the lid fits snugly. DIY bins made from wooden pallets work well but should be lined on the inside with cardboard to retain heat initially.
Lay a Base Layer of Browns
Before adding any food scraps, cover the base of the bin with a 3-4 inch layer of coarse brown material - wood chips, straw, or torn cardboard. This layer creates airflow at the bottom, aids drainage, and prevents the pile from becoming compacted.
Add Greens and Browns in Alternating Layers
The standard guidance is to maintain a roughly 3:1 ratio of browns to greens by volume. Greens include fruit and vegetable scraps, fresh grass clippings, and coffee grounds. Browns include dried leaves, cardboard (ink-free), plain paper, and straw.
Each time you add a batch of kitchen scraps, cover them with an equal or larger volume of brown material. This simple habit is the main reason some piles stay odour-free while others don't.
- Add: vegetable and fruit peelings, eggshells, coffee grounds and filters, tea bags (paper-based), garden trimmings, dried leaves
- Avoid: meat, fish, dairy, cooked foods, oily or processed food, pet waste, diseased plant material
Maintain Moisture and Aeration
The pile should feel about as damp as a wrung-out sponge. If it's too dry, decomposition slows considerably; too wet and anaerobic conditions develop. In dry weather, add a small amount of water when turning. In wet weather, ensure the lid is on and the pile has good drainage at its base.
Turn the pile with a garden fork every one to two weeks. This introduces oxygen, redistributes heat, and speeds up the breakdown process significantly.
Recognise When Compost Is Ready
Finished compost is dark brown, crumbly, and smells earthy - similar to forest soil. Individual ingredients should no longer be recognisable. Depending on climate, materials, and how often you turn the pile, this typically takes anywhere from two to six months.
If material at the top is still partially decomposed, push it aside and harvest the finished compost from the base first.
Troubleshooting Common Compost Problems
Even a well-set-up pile can occasionally run into issues. Here's how to recognise and fix the most common ones quickly.
- Pile smells like ammonia
- Too many greens. Add a generous layer of brown material - dried leaves, cardboard, or paper - and turn the pile to introduce air.
- Pile smells like rotten eggs
- The pile is waterlogged and anaerobic. Fork it open, add dry browns, and allow it to aerate for a day before covering.
- Nothing seems to be breaking down
- The pile is likely too dry or lacks nitrogen. Add fresh green material and a small amount of water, then turn to mix.
- Flies or fruit flies around the bin
- Food scraps are exposed. Always bury fresh kitchen waste under a layer of browns and keep the lid secure.
For broader garden health strategies that complement composting - including ground cover plants and mulching approaches - see our low-maintenance landscaping guide.
Don't Add These to a Standard Bin
The content provided on our blog site traverses numerous categories, offering readers valuable and practical information. Readers can use the editorial team’s research and data to gain more insights into their topics of interest. However, they are requested not to treat the articles as conclusive. The website team cannot be held responsible for differences in data or inaccuracies found across other platforms. Please also note that the site might also miss out on various schemes and offers available that the readers may find more beneficial than the ones we cover.