
Painting Interior Walls: Preparation Is Everything

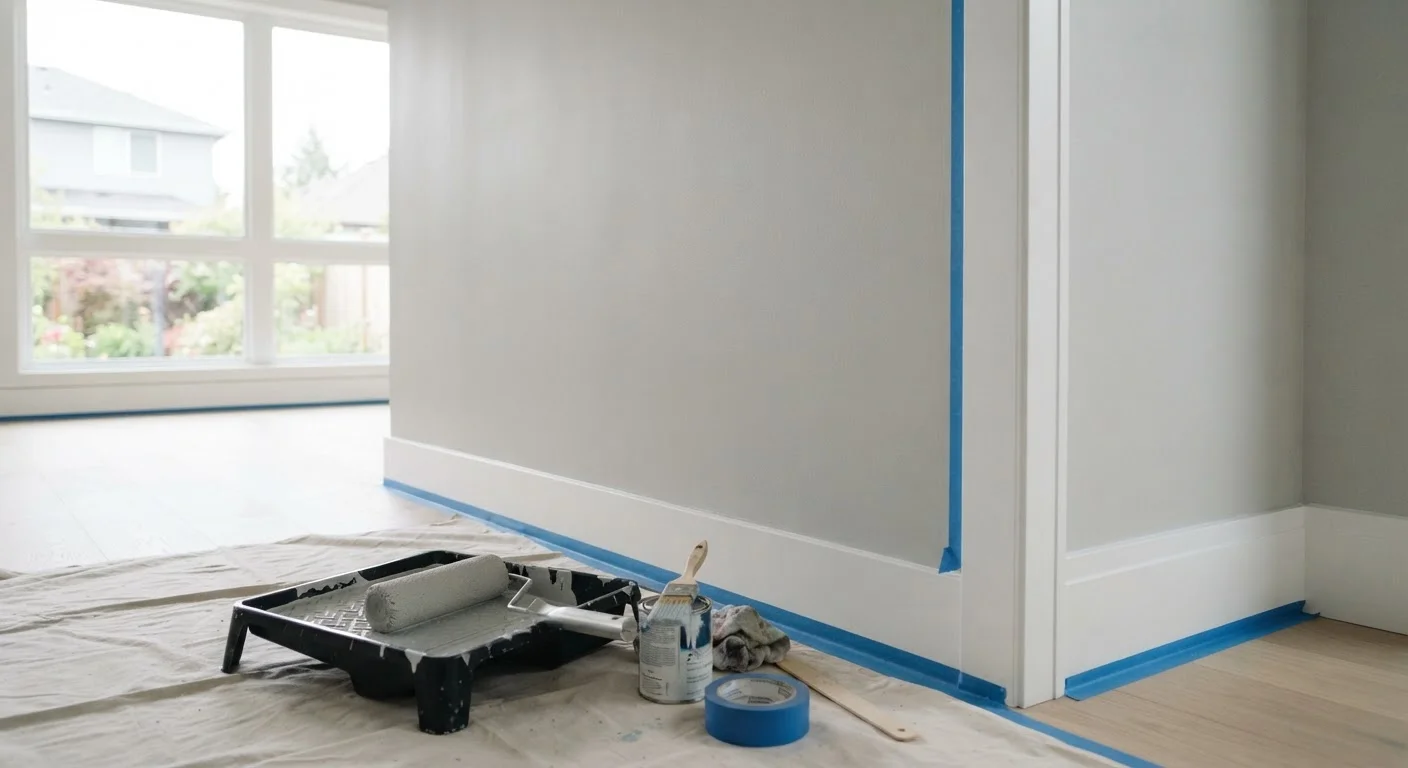
Photo: ResultsExplorer.com | Top Blogs For Everyone editorial
Key Takeaways
- Proper surface preparation - filling, sanding, and cleaning - determines whether paint lasts or peels.
- Priming is essential on bare patches, stained surfaces, and significant color changes.
- Cutting in before rolling prevents visible overlaps and gives edges a cleaner finish.
- Allowing adequate drying time between coats prevents streaks, bubbling, and poor adhesion.
- Check for water damage before painting - paint won't fix underlying moisture problems.
Why Preparation Makes or Breaks a Paint Job
Most disappointing DIY paint results trace back to one root cause: skipping preparation. Paint applied to dusty, greasy, cracked, or unprimed walls will chip, peel, or show imperfections far sooner than it should. The good news is that preparation is straightforward - it just requires patience and the right sequence of steps.
Before you open a single paint can, take a close look at your walls. Look for cracks, nail holes, peeling paint, stains, or soft spots. If you notice discoloration that spreads from a corner or ceiling junction, read up on signs of water damage first - painting over an active moisture problem will only delay and worsen it. Similarly, avoid the common mistake of painting directly over damaged or dirty surfaces, a pitfall covered in depth in our guide to home maintenance tasks homeowners routinely get wrong.
If this project is part of a broader home update, our renovation planning guide can help you sequence work so painting happens at the right stage - after rough trades but before finish carpentry is installed.
What you will need
Tools and Materials You'll Need
Gathering everything before you start prevents mid-job interruptions that can ruin wet edges or let primer dry unevenly. Here's what a standard interior painting project calls for.
Interior latex paint
The finish coat that provides color and protection to your walls.
Primer
Seals bare patches and stains, and improves adhesion for the topcoat.
Painter's tape
Masks trim, ceiling edges, and outlet boxes for clean, straight lines.
Spackling compound or lightweight filler
Fills nail holes, hairline cracks, and small surface voids before painting.
Sandpaper (120- and 220-grit)
Smooths filled patches and scuffs glossy surfaces so paint adheres properly.
Paint roller with extension pole
Applies paint quickly and evenly across large flat wall sections.
Angled trim brush (2-2.5 inch)
Cuts in along edges, corners, and trim where a roller cannot reach.
Drop cloths
Protects floors and furniture from drips and spills during painting.
Step-by-Step: From Bare Wall to Finished Coat
Follow these steps in order. Each stage sets up the next, and rushing any one of them compounds problems down the line.
Clean the walls thoroughly
Wash walls with a mild detergent solution and a sponge, working from top to bottom. Pay extra attention to kitchens and areas near doors where grease and hand oils accumulate. Rinse with clean water and allow the surface to dry completely - at least several hours - before moving on.
Fill holes and cracks
Use a putty knife to press spackling compound or lightweight filler firmly into nail holes, hairline cracks, and any surface voids. Overfill slightly - the compound shrinks as it dries. For larger cracks (wider than a pencil line), apply the filler in two thin layers rather than one thick one, allowing drying time between applications.
Sand smooth and remove dust
Once filler is fully dry, sand each patch with 120-grit sandpaper until it's flush with the surrounding wall. Follow with 220-grit for a finer finish. Lightly scuff any areas with existing gloss paint so the new coat can grip. Wipe down all sanded areas with a damp cloth or tack cloth to remove every trace of dust.
Apply painter's tape and protect surfaces
Run painter's tape along ceiling lines, baseboards, door and window trim, and any fixtures you're keeping in place. Press the tape edge down firmly with a putty knife or your fingernail to prevent paint bleeding underneath. Lay drop cloths flat on the floor, ensuring they extend beyond the wall base by at least 12 inches.
Prime where needed
Apply a coat of primer to all patched areas, any bare drywall, stained spots, and any area where you're making a significant color change (especially going from dark to light). Allow the primer to dry fully according to the product instructions. Spot-prime only where necessary - full-wall priming is usually reserved for new drywall or heavily stained surfaces.
Cut in along edges first
Load your angled brush with a moderate amount of paint - no drips - and carefully paint a 2-3 inch band along all edges: ceiling lines, corners, trim, and around outlets. Use smooth, confident strokes and maintain a wet edge. Cut in one wall at a time so the edge stays workable when you roll the field.
Roll the walls and apply a second coat
Load the roller evenly and apply paint in a broad W or M pattern, then fill in without lifting the roller. Work in sections of about 3-4 square feet, maintaining a wet edge to avoid lap marks. Once the full wall is covered, allow it to dry per the paint manufacturer's guidance - typically 2-4 hours for latex - before applying a second coat using the same method.
Test Your Color Before Committing
Common Mistakes to Avoid
Even well-intentioned painters run into avoidable problems. Skipping the cleaning step is among the most frequent - grease and dust act as a barrier between paint and wall, causing adhesion failure that won't show up until weeks later. Applying a second coat before the first is fully dry is another classic error; the result is streaking, bubbling, or lifted paint.
Using too much paint on a brush or roller at once creates drips and an uneven texture. Thin, consistent coats applied in two passes almost always outperform one thick coat. Finally, don't neglect lighting: paint a test patch and view it in both natural and artificial light before committing to a full room. Color reads very differently depending on the light source.
Don't Paint Over Problem Areas
The content provided on our blog site traverses numerous categories, offering readers valuable and practical information. Readers can use the editorial team’s research and data to gain more insights into their topics of interest. However, they are requested not to treat the articles as conclusive. The website team cannot be held responsible for differences in data or inaccuracies found across other platforms. Please also note that the site might also miss out on various schemes and offers available that the readers may find more beneficial than the ones we cover.