
Checking and Correcting Your Tire Pressure the Right Way

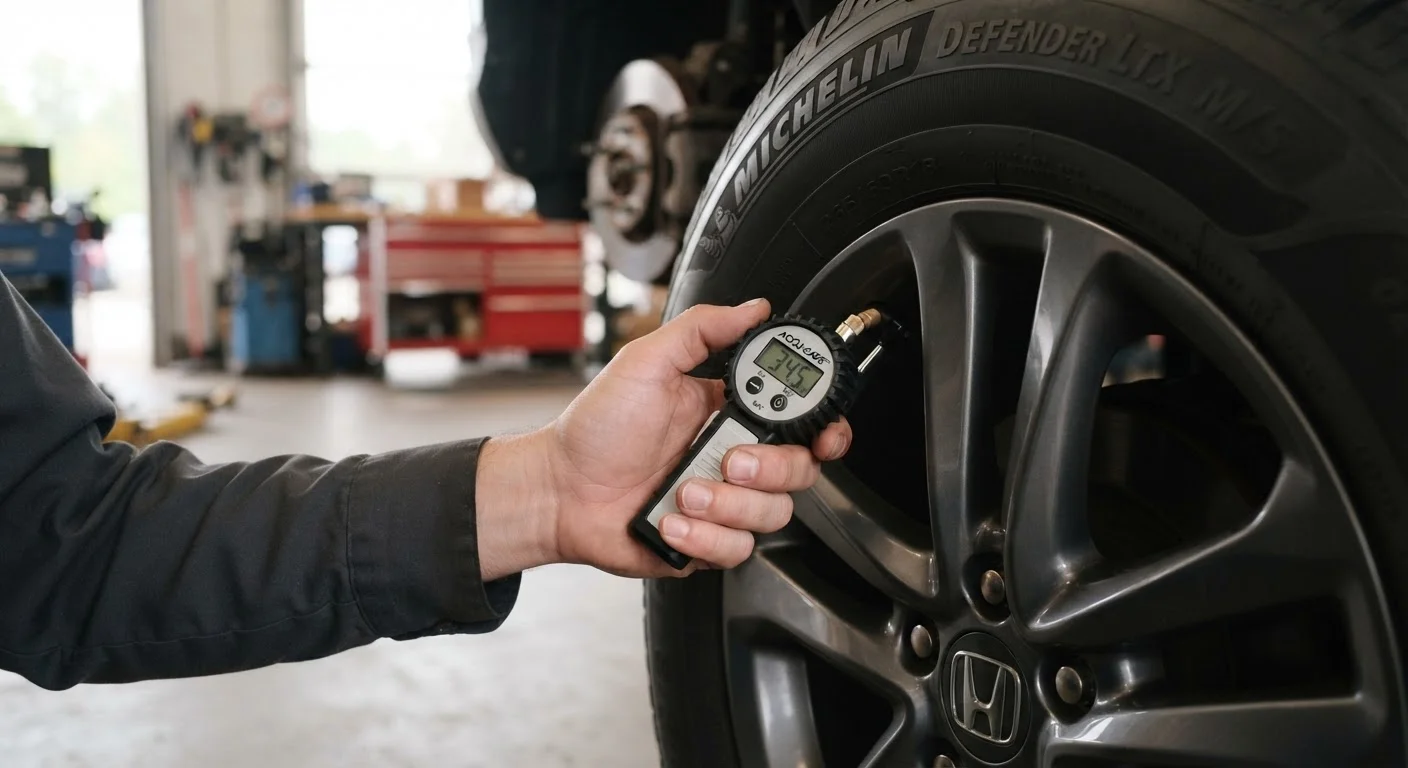
Photo: ResultsExplorer.com | Top Blogs For Everyone editorial
Key Takeaways
- Always check tire pressure when tires are cold - driving heats the air inside and raises readings artificially.
- The correct PSI for your vehicle is on the driver's door jamb sticker, not on the tire sidewall.
- Tire pressure drops roughly 1 PSI for every 10°F decrease in outside temperature.
- Both under-inflation and over-inflation reduce traction, accelerate tread wear, and hurt fuel economy.
- Check all four tires and the spare at least once a month and before long trips.
Why Tire Pressure Matters More Than Most Drivers Realize
Tires are the only part of your vehicle in contact with the road. The air inside them carries the weight of the car, absorbs road impacts, and enables steering and braking to work as designed. When that pressure is off - even modestly - everything from fuel economy to stopping distance is affected.
Under-inflated tires flex more than they should, generating excess heat and wearing the outer tread edges faster than the center. Over-inflated tires become rigid, wearing the center strip quickly and reducing the tire's ability to conform to the road surface. Either condition shortens tire life and reduces safety. For a broader view of tire health, including rotation and alignment, sound tire upkeep practices covers the full picture.
A TPMS Light Isn't a Substitute for Manual Checks
Tire pressure also has a measurable effect on fuel efficiency. The U.S. Department of Energy has noted that keeping tires properly inflated can improve gas mileage - while consistently low pressure works against it. For most drivers, this is a maintenance task that pays for itself in saved fuel over time.
Tools and Setup Before You Begin
You don't need any special mechanical skill to check tire pressure - just the right tool and a few minutes. A pressure gauge is the only essential item, and all three common types (digital, dial, and stick) work reliably when used correctly. Digital gauges are the easiest to read at a glance.
Tire pressure gauge
Measures the air pressure inside each tire in PSI (pounds per square inch).
Air compressor or pump
Adds air to tires that read below the recommended pressure.
Valve cap removal tool or fingertips
Removes the small screw-on cap covering the tire's valve stem before gauging.
Set yourself up for success by checking tires before your first drive of the day. Morning is ideal. If temperature swings are a concern - especially in winter - note that cold ambient temperatures will drop your tire pressure naturally, and you may need to add air more frequently during cold snaps. This is also a good time to visually inspect each tire for cracks, embedded objects, or uneven wear patterns.
Temperature Swings Affect Pressure Year-Round
Step-by-Step: Checking and Adjusting Your Tire Pressure
Follow these steps in order for an accurate check and safe adjustment. The full process takes under 15 minutes for all four tires plus the spare.
What you will need
Find your vehicle's recommended PSI
Look for a sticker on the inside edge of the driver's door or door frame. This label lists the manufacturer-recommended tire pressure for both front and rear tires - and it's the number you should target. Do not use the maximum PSI printed on the tire sidewall; that figure is the tire's structural limit, not a safe operating target.
Check pressure while tires are cold
Driving generates heat that expands the air in your tires, raising the pressure reading by several PSI. For an accurate baseline, check tires before you've driven that day or after the car has been parked for at least three hours. If you must drive to a gas station for air, keep the trip under one mile and note that your readings may be slightly elevated.
Remove valve caps and seat the gauge firmly
Unscrew the small plastic or metal cap from the valve stem - the short protrusion on the inner rim of each wheel. Press your gauge straight onto the valve stem with firm, even pressure. A hissing sound means the gauge isn't fully seated; reposition and try again. Read the PSI displayed immediately.
Compare your reading to the recommended PSI
Note the PSI shown for each tire. Compare it to the target figure from the door jamb sticker. A reading within 1-2 PSI of the target is generally acceptable. If any tire reads more than 3 PSI low or high, you'll need to adjust it. Record readings for all four tires - differences between tires can also indicate a slow leak worth investigating.
Add air to under-inflated tires
Attach the air compressor hose to the valve stem. Add air in short bursts, checking the gauge frequently - it's easy to overshoot the target. If you don't have a compressor at home, gas stations typically have coin- or app-operated air pumps. Fill each low tire to the recommended PSI, then replace the valve cap snugly by hand.
Release air from over-inflated tires
If a tire reads too high, press a small pin or the back of your gauge against the center of the valve stem to release air in short increments. Check the pressure after each release. Over-inflated tires have a smaller contact patch with the road, which reduces grip and increases the risk of a blowout on rough surfaces.
Check and replace all valve caps
Once all four tires are at the correct pressure, confirm that every valve cap is replaced and tightened by hand. Valve caps aren't just cosmetic - they keep dirt and moisture out of the valve core, preventing slow leaks. While you're at it, check your spare tire if your vehicle carries one; it should be maintained at the PSI listed in your owner's manual.
Tire pressure is just one part of a broader maintenance routine. If you're building good habits, the full car maintenance timeline outlines every interval worth tracking, and checking your essential fluid levels pairs naturally with a monthly tire inspection.
Don't Rely on the Sidewall Number
The content provided on our blog site traverses numerous categories, offering readers valuable and practical information. Readers can use the editorial team’s research and data to gain more insights into their topics of interest. However, they are requested not to treat the articles as conclusive. The website team cannot be held responsible for differences in data or inaccuracies found across other platforms. Please also note that the site might also miss out on various schemes and offers available that the readers may find more beneficial than the ones we cover.